The first thing I have to confess is that, due to my relentless cold, I am behind in posting, but I assure you I am baking in real time. This cake was made this past Sunday. I was, once again, able to find inspiration for my baking and this time it was my mother in-law’s birthday. And what would be more appropriate for a birthday than a cake. Aside from the gorgeous image of the cake, the words “brown butter” will get me every time. OMG, I just wiped drool from my mouth. Brown butter is the process of taking butter to an unimaginable level. Imagine butter, now image having butter in heaven and you will get a glimpse of what it is to have browned butter. If you think I am being dramatic, try it. It attacks all of the major senses involved in eating. The smell is mind numbing. It is a cross between roasted nuts and caramel, a smoked caramel if you will. I also, happen to love the look as well. It is just a beautiful caramel color and it taste so rich. As you can see, I can write a post on just browned butter alone, but I digress. Aside from the naming of this delectable dessert, the beautifully crisp image that I chose to “pin” on my “wall” is what grabbed me initially. I loved the smooth, seamless frosting underneath the glossy caramel drizzle with tiny little vanilla bean speckles can be seen on the sides of this adorable cylindrical masterpiece. The image below is from the original recipe and the one I chose to “pin”.

The first task at hand was to get the right sized cake pans. Since I am the absolute worst at visioning size of an object based on a documented measurements, I was shocked when I went to the store and found the four 6″ cake pans. They were so tiny. Anyway, I can now I can make cute little cakes so it was all worth it.
If I am being honest, though this was only Week 2, it was already a bit of a flop. I started off looking good, I promise.


As you can see, I masterfully browned the butter (I like to leave in the crust if it will not impact the look) as I have made several recipes with browned butter at this point and I even mentally created an updated version of one of my favorite cookies which I plan to make at the end of the month. Don’t worry even though it is not part of the 35 week baking, I will still post. After that, things slowly started to go south, from the forgetting to put in the eggs until after the dry ingredients had been mixed in to the, well, you’ll see later.
Despite the major fails, I do have some tips for this one.


- I am a master at preparing a cake pan. Though I grew up making boxed cakes with my mom (which is funny because we never ate processed food for meals), I learned how to properly and thoroughly grease a cake pan as if I was making something from scratch.
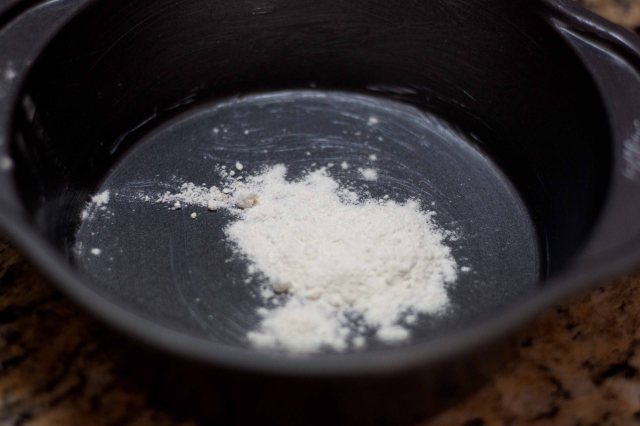
- Put shortening on a paper towel and grease the pan ensuring that you cover every inch including the creases
- Then take a little bit of flour and dump it in the center
- Work the flour around the cake pan like you are trying to keep a marble from falling off the edge of a tray (I hope that makes sense)
- Finally rotate the pan like a wheel so that you get the walls of the pan and tap it to remove any excess flour (maybe I will do a video some day).

Here is the picture of the finished cake out of the pan (above). Mic drop.

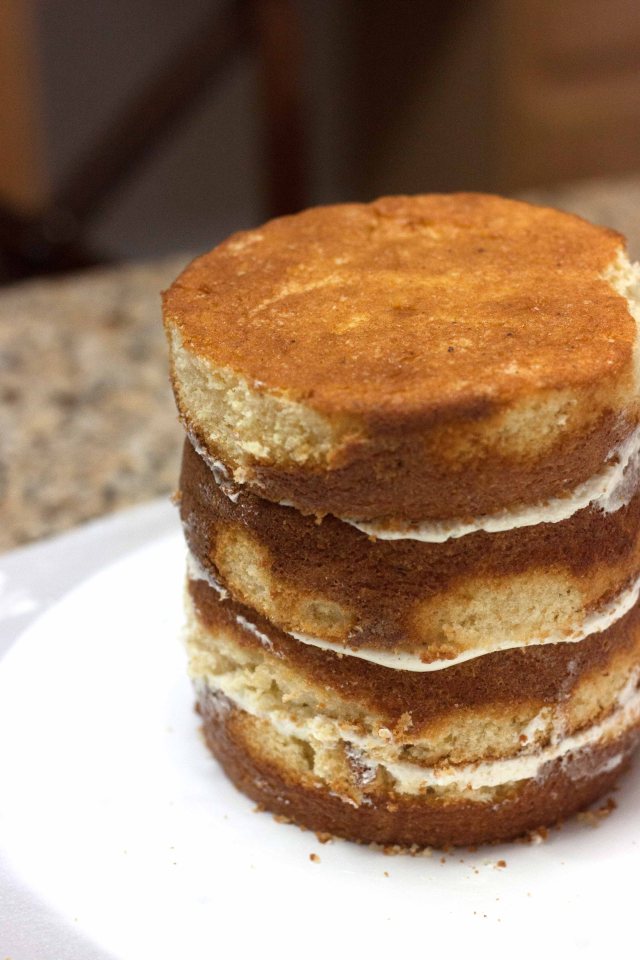
- I do know if you are making a layered cake, you level off the top with a knife. The cake should probably be really cooled at this point so you don’t knock off the edges of the cake like I did. You are also supposed to do something similar on the sides, but clearly I went too far.


- I saw this online and it worked like a charm. For the filling layer, use a pastry bag and any circular tip to dispense and then lightly spread it with a flat spatula (any smoothing tool). That made this step a snap.

- Do not, I mean do not substitute vanilla extract for vanilla bean but you can substitute it with vanilla bean paste which is also also quite pricey, but the unlike billion dollars for the actual bean, it’s a much easier pill to swallow. The little bean speckles add to the visual charm of the dessert and I believe it is more concentrated as well. I don’t know, it just has a different flavor that is worth trying. My husband found this one at Harris Teeter for $10. But he heard that Trader Joe’s has the same one during the holidays for $4 so be on the lookout for a crazy lady collecting every single tube in November.
Now that is all the tips I am giving because I botched the other tips and ended up mutilating the cake. Yes, a cake was hurt while filming this process. But none was wasted! The kids, my hubby and I gobbled up every little crumb that did not make it to the finale.
There were also a couple of steps I skipped as I was in a rush to get the cake to the birthday girl. When you initially frost a cake, it is called the “crumb layer”. Apparently this is a thin layer of frosting that is applied to the cake in order to “catch” the crumbs that magically appear. This recipe went a step further and had you chill the cake after the crumb layer for 30 minutes. I think this would have really locked in those crumbs. This is where I almost lost the cake, again likely due to it not being cooled enough. I actually started breaking off cake. After a while I just pretended like I was working on dry wall and the frosting was my caulk. I actually saved it…well at this step.

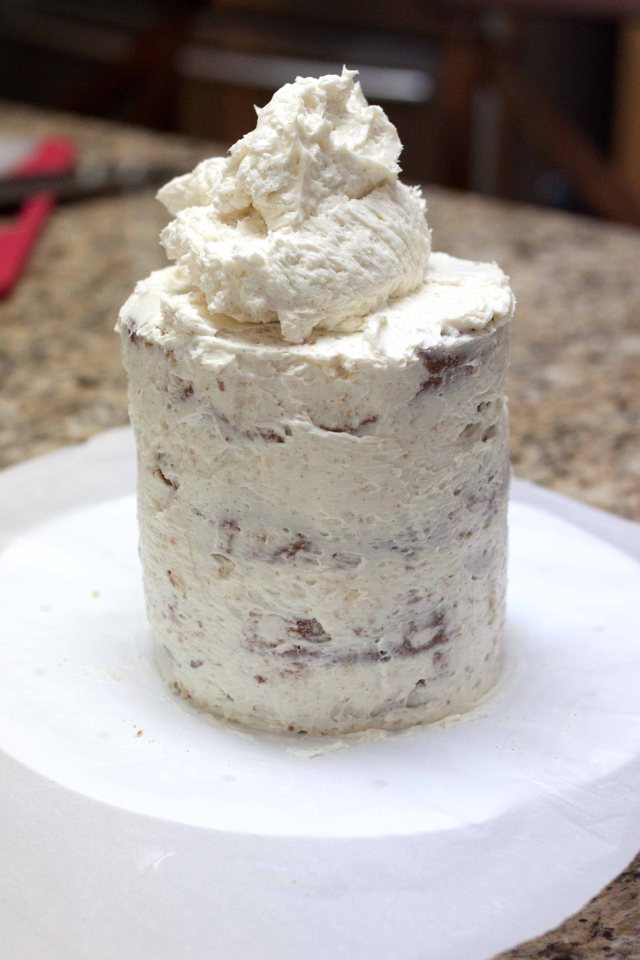

Once I added the frosting, it started going south and it took forever just to get this look. My final thoughts after making this cake are, one, I absolutely do not like butter frosting. I said butter, not butter cream which has cream cheese in it. I need more time and practice for making cakes as they are so much work. I also dare anyone to ever ask me to make a cake because I will karate chop them. It is so much work and you would have to charge a lot to make it worth it.
It was pretty good, but the most important part is the birthday girl loved it!
Here is the image on my Pinterest wall.

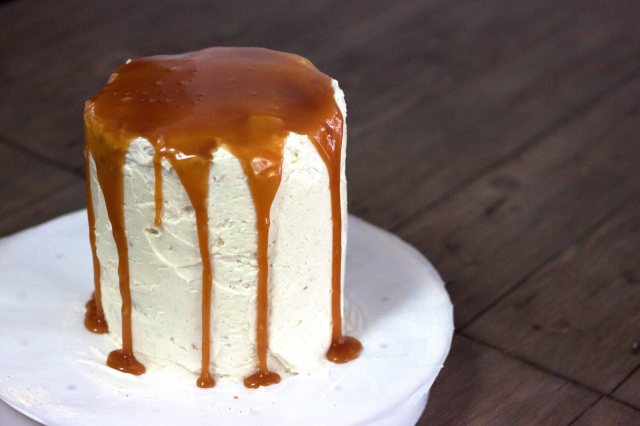
See, just like the original. I bet you can’t tell which one is mine.

Great job! Seems like you learned a lot and your final product looks delicious. An icing smoother may also help you get that really smooth finish. I recently got one and love it!
Is that the flat rectangular tool that looks like it’s used for drywall? Thank you!
Yep! You can search YouTube videos for how to use it. Helps a ton!