Winter Wonder…craft?

Well folks, the year is coming to a close and although my posts have been few and far between, it still set the stage for my baking platform.  It lit a fuse in my baking that has just turned into a huge flame.  Despite the fact that I gave up on my baking challenge posts (I believe I was going to do like 30 weeks of baking), I am sure I surpassed that baking goal by far.  So without further ado, I post my last blog of the year just in time for the holidays.

My Christmas decor theme (oh yes, there must always be a theme) was winter wonderland which meant everything would be white….well white with a bit of a rustic touch.  I mean who would I be without my rustic decor.  I could not wait to decorate this year as it was the first time I had ever done white.  It turned out wonderfully with the tree being my favorite.  And in keeping up with the theme of the house, this year’s kids’ party would be centered around a snowy Christmas.

IMG_9028

The kids picked an abominable snowman as their craft and we figured why not use marshmallows.  We also chose a more simpler and less messy set up with food coloring pens and toothpicks for connecting.

IMG_9024

As with the last Christmas craft party, the only food would be an obnoxious amount of desserts and hot chocolate, but not just any chocolate…this year is was white hot chocolate.

IMG_9019

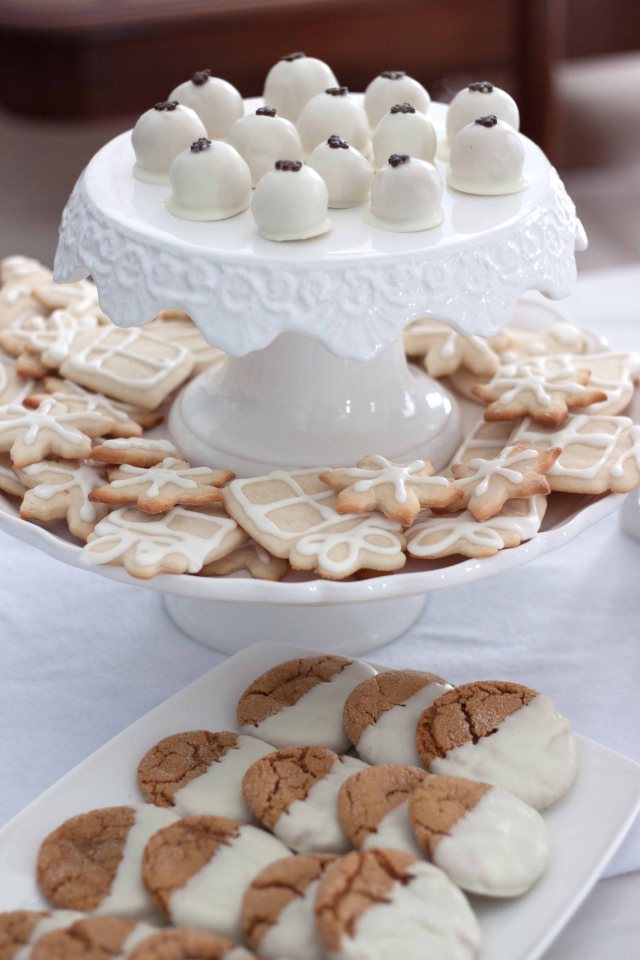
I selected desserts that were only in a white hue, from a coconut cake to white chocolate truffles.  When it came to preparing the truffles, I was tapped out on all the molasses so I opted to replace the molasses with maple syrup and for the seasoning I used pumpkin by spice.  They were amazing.  Just be sure to tell your guests that it is a truffle so they can prepare for the creamy center rather than a hard cookie.  There is nothing like an unexpected texture or am I the only one that gets freaked out by that kind of surprise?
IMG_9018

As always I prepared the cakes well in advance and froze the layers.  Please invest in non-tapered cake pans and the Wilton cake strips or cake diapers as my husband calls them.  The layers come out gorgeous and there is no cutting off of a dome.  I guess that’s unfortunate if you like snacking on the cake pieces.


The gingerbread cake  (Unfortunately I did not get a picture, but it definitely was not my best work.  I am still learning the art of cake decorating) with the cream cheese frosting was amazing!  I even froze the leftover slices between parchment paper and it still tastes amazing.

IMG_9021

For the coconut cake, I actually didn’t have enough eggs and chose to make a buttercream frosting.  To me, it made the cake.  Italian butter cream is not sweet enough to me and this cake wasn’t a very sweet cake so the coconut buttercream filling (just butter and powdered sugar with imitation coconut) was a great addition.
IMG_9016

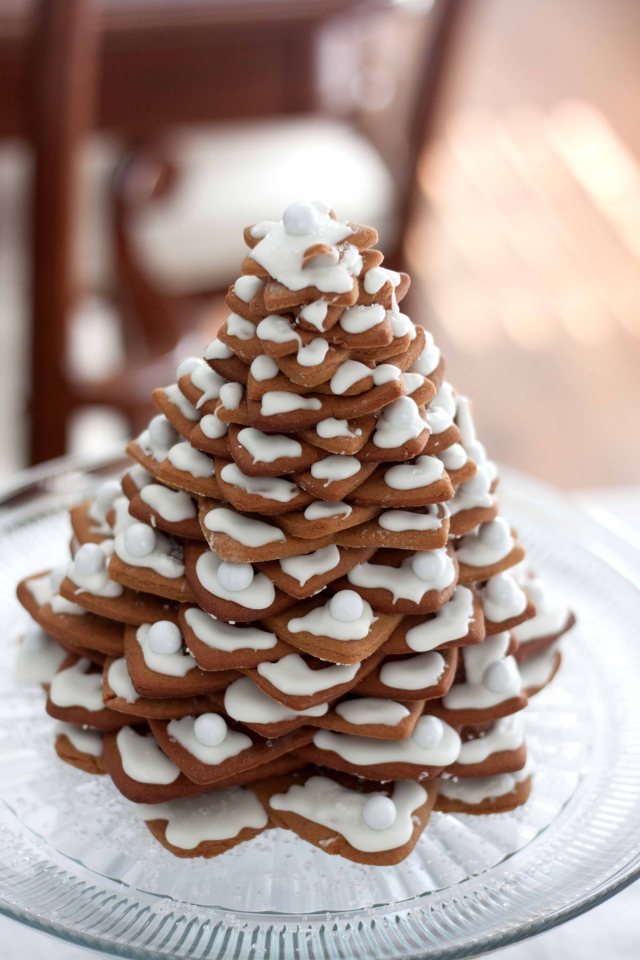
The most challenging dessert had to be the gingerbread star tree.  I used the King Arthur recipe for the cookies.  OMG, it was so hard coordinating the sizes.  I mean how was I supposed to know how many of each I should have and a couple of stars didn’t make it so that was awesome.  The ginger cookies dipped in white chocolate was a fan favorite.

IMG_9025

I have to say, I was pretty burned out after the level of baking required for this event.  The good news is it was short lived and the even better news is that I actually finished everything in time.  That is the bonus of holiday parties, the decorations are already up.

IMG_9030

I definitely outdid myself with this event and the best part is seeing the kids faces while they gorge on delicious dessert prepared by your truly.  I definitely set the stage for a very Merry Christmas.


My Little Dinosaur Turns Five

Submarine, Troll Hunters, Nijago….Oh my!  Those are just 3 of the one billion birthday ideas my soon to be five year went through until finally landing on dinosaur theme and by landed on, I mean I had to cut him off from making another change.

The bonus of his final selection is that everyone and their mama or son or even daughter loves a good dinosaur birthday.  There was no shortage of Pinteresting ideas splattered all over the internet so it will come as no surprise that his birthday was just a mock up of my Pinterest board.  I am pretty sure the only unique idea for the party was the enchilada casserole I prepared for the parents.

This event, I’d have to say, was my most successful to date and I have to thank my sheer determination and Microsoft Excel.  For every party I have ever hosted, I am usually still finishing up when people arrive and, more often than not, not even changed into hostess presentable clothing.  However, this time I was not only dressed, there was even make-up.  Can you believe it?!
I started off, of course with my usual plan to prep baked goods 2-3 days before the event.  If you don’t know about this, you better ask somebody.  Like seriously, ask a baker.  Baking ahead and freezing is a Godsend and the baked goods  still taste wonderful on party day.

This little handy dandy project is something I learned from YouTube and my new obsession with learning about baking.  Turns out, you don’t have to let your cakes form and dome.  You can put this make shift cover over the pan and save yourself time and a sample of your treat.  OK, that last part is the downside of this method (wet a long piece of paper towel and place over foil, fold the foil over the paper towel so the towel is not exposed and wrap it around the cake pan).


Now it wouldn’t be me if I wasn’t being honest, my cake was a bit sunken in the center.  I attribute it to the thickness of my wrap.  I think I went a bit far.  I am willing to give it one more try and see if I can get an evening baked cake.

IMG_7625

Below is the finished product.

IMG_7628

When I tried it with the second cake, I saw the same phenomenon happening so I pulled off the foil wrap, but it was too late, I lost the center.  Never fear, I worked with it.

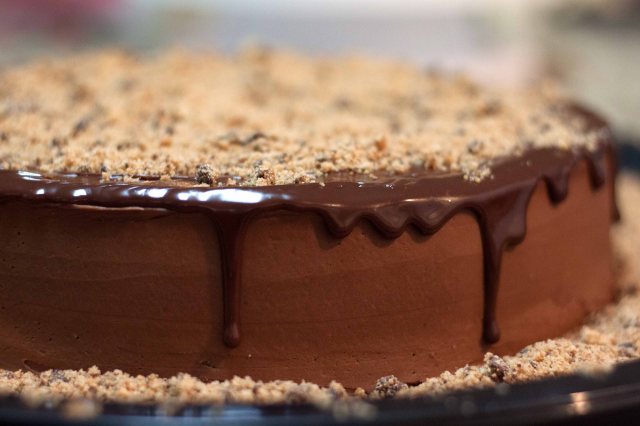
Despite chocolate not being my favorite, this recipe was phenomenal.  The best part, the freezing helped significantly.  I was able to flip the cake upside down and because it was still frozen it was easy to spread the frosting and the ganache handled like magic.  The cake got rave reviews so this is definitely going in the books for a chocolate go to.  Should we be surprised though?  It did come from Ina after all.

IMG_7633

IMG_7635

The chocolate cake turned out so beautiful, I almost did not want to continue on to the overly ambitious dinosaur themed cake for which I had intended to use this part of the cake.

IMG_7644

The top layer is the poinsettia cake that I made last year for a cake tasting party with an addition of food coloring.  I wanted to design a dinosaur landscape type cake, but due to the softness of the buttercream frosting and the incorrect piping tip the grass was not too clear.  However, I am sure the point came across.  Especially with the chocolate bundt volcano cake at the top.  Interest three dinosaur toys and no one is the wiser.

IMG_7732

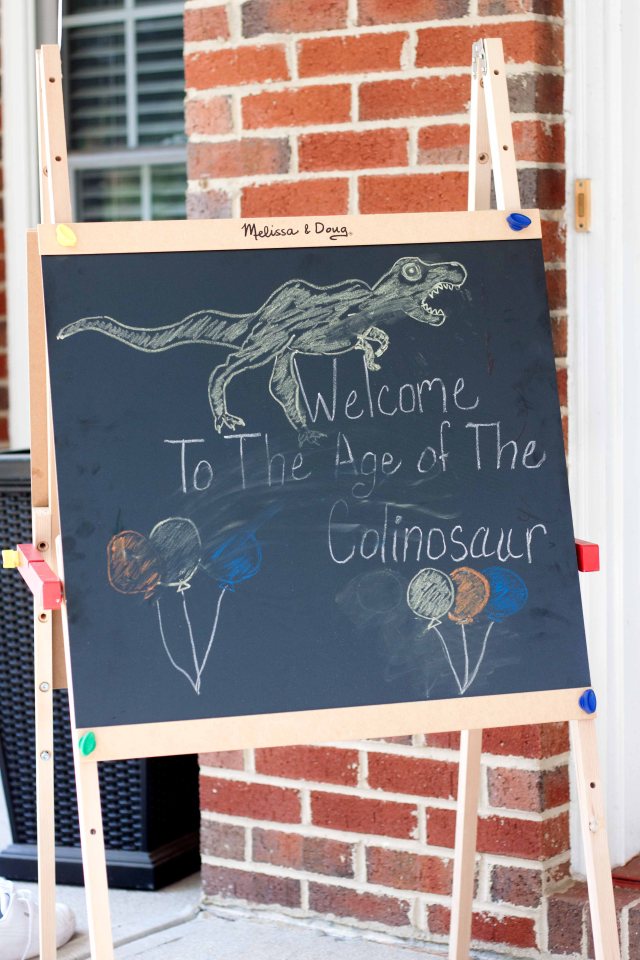
If you have followed my events, you know I am obsessed with chalkboards.  Don’t ask why, just know that I am.  This is one of only two for this event, but it was the first piece to greet guests at the door.  Unfortunately I didn’t remember to take this picture until after the party so the smears are just a reminder that kids will be kids.

Drawing didn’t stop there, I was in a space for this event and busted out my art skills…too bad art is so challenging for me, it apparently masks my ability to spell.

IMG_7687

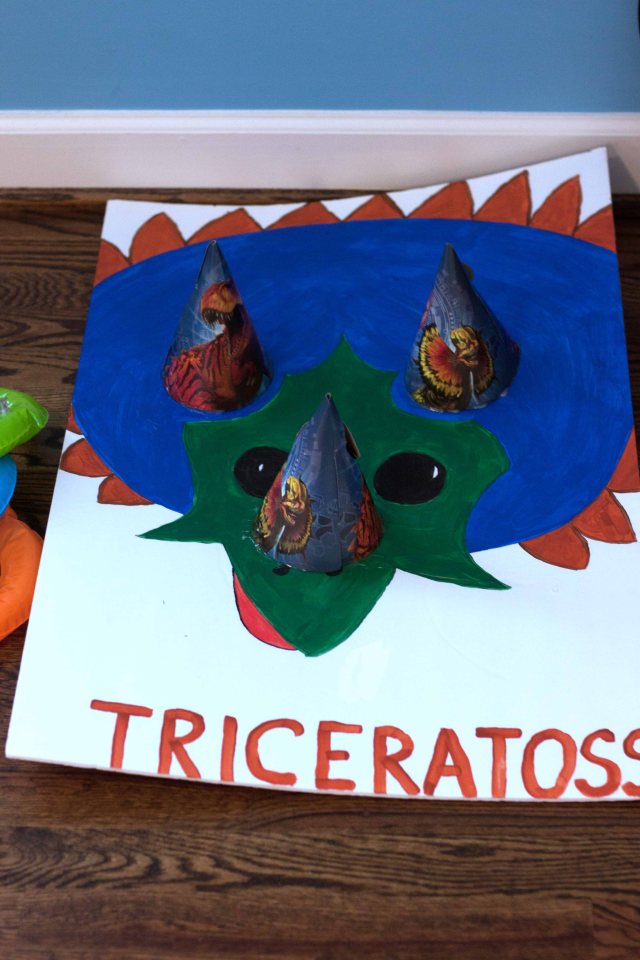
My prize pony for this event is this gem, I sketched and painted free hand for a fun bean bag toss game

IMG_7680

IMG_7688

The triceratoss game was funny, especially since the only party hats I could find were from Jurassic World.

IMG_7678

Note to parents, free play is all you ever really need.  It was like pulling teeth to get kids to play structured games.

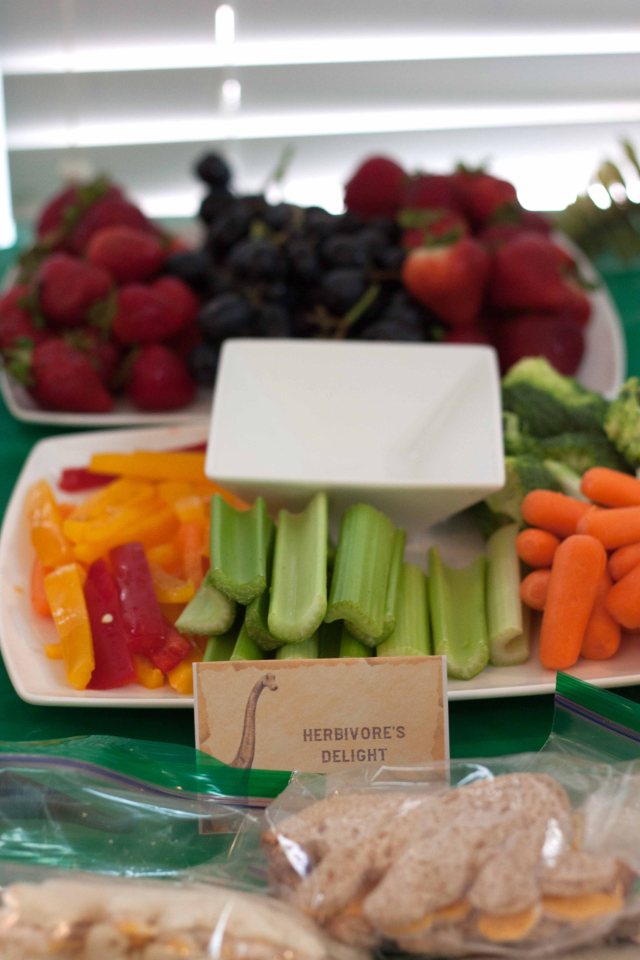
Decorating for this was pretty fun, I mainly was going for dinosaurs in their natural habitat type of theme so thanks to Amazon, Oriental training company, and Micheal’s, I was able to create a very green event.

IMG_7675

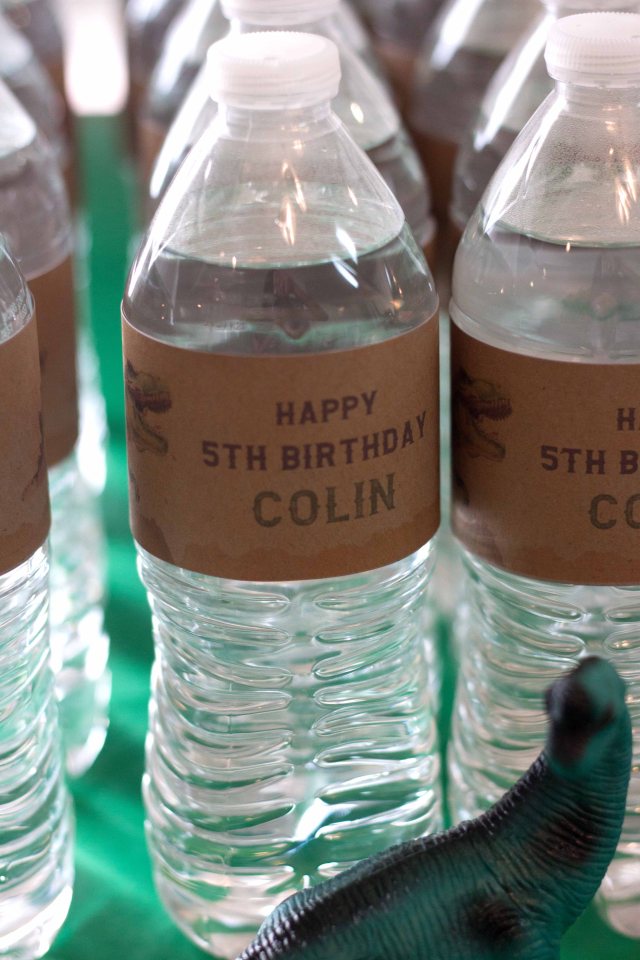
I ordered cute labels from Etsy, OMG they are my favorite go to for awesome label templates.  I printed everything on natural color cardstock from Michael’s to give it that earthy feel.

IMG_7664

IMG_7668

IMG_7696

IMG_7693

IMG_7676

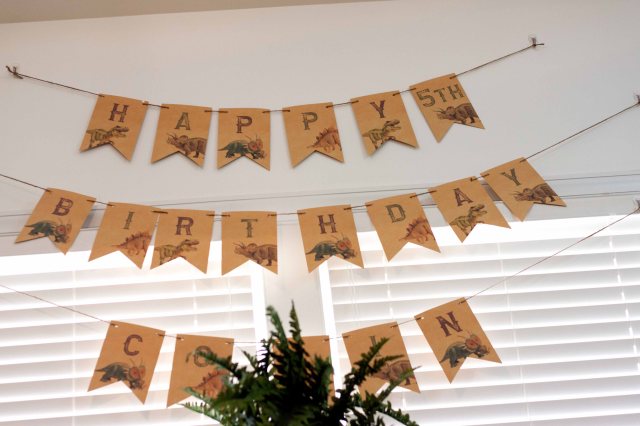
The template package even came with an awesome template for the birthday sign.  This is also cardstock.

IMG_7672

I staged the play area in the playroom which also has a chalkboard wall…insert chalkboard #2.  The kids had a ball with this one.

IMG_7683

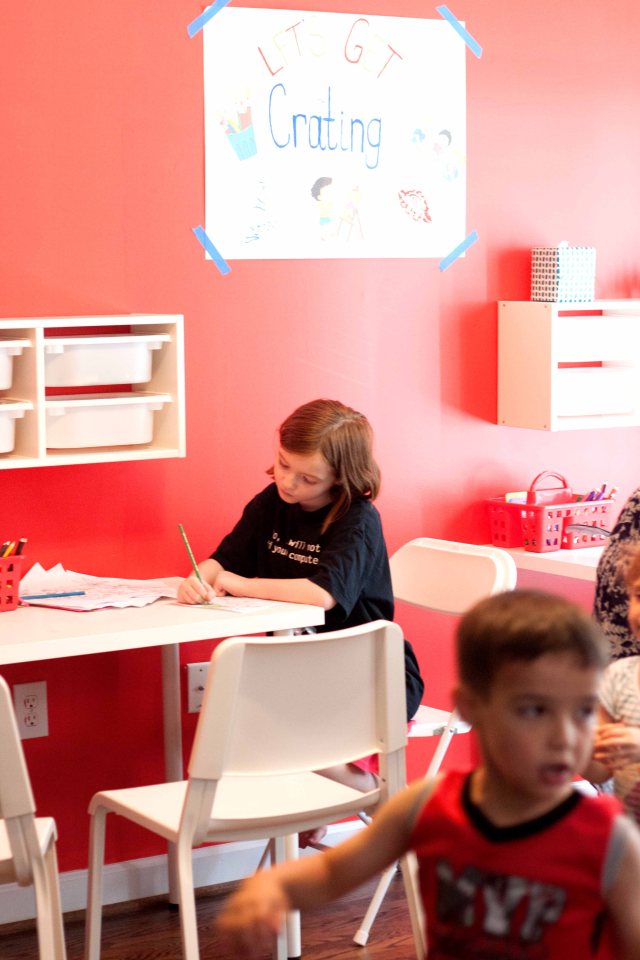
The craft table was a hit too.

IMG_7690

To guide kids to the playroom, I placed these cool footprint stickers on the floor.  I think they are from Oriental Trading Co., but it could be Amazon.

IMG_7738

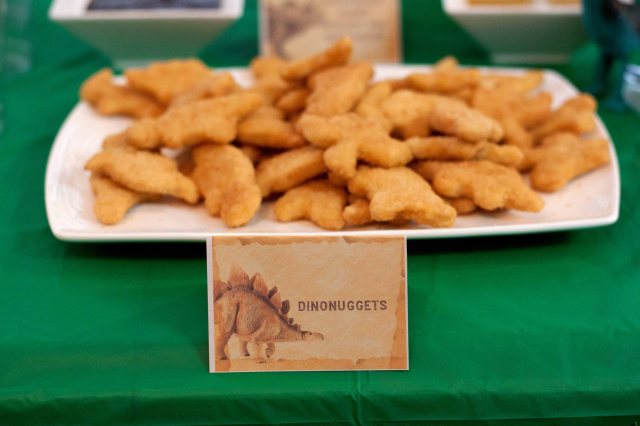
To no surprise, the dessert table stole the show.  The streamers were actually up for 3 days before the party.  I was super serious about completing this time around.  Even the table was up complete with Dollar Tree table cover.

IMG_7647

IMG_7648

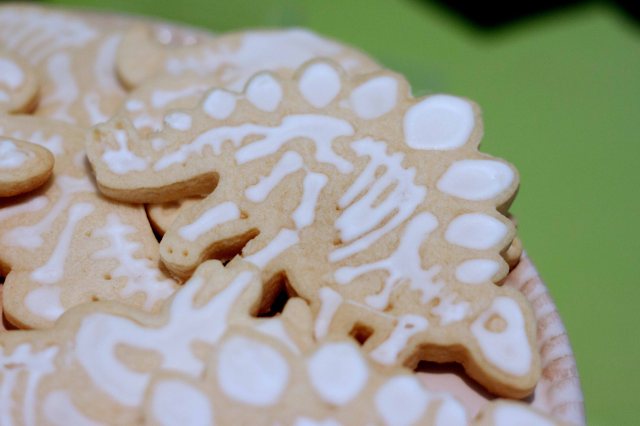
These dinosaur cookies are everything and took everything to prepare.  Thank goodness my husband suggested using this special syringe I had on hand because otherwise, this would not have happened.  The cutter is so cool and can be found on Amazon.

IMG_7659IMG_7660IMG_7661

IMG_7653IMG_7650IMG_7657

These cupcakes are where I give myself a hearty pat on the back.  At 5:30 am when I was up in the kitchen after only 3 hours of sleep, I realized I had a lot of time and decided to mentally plan for making a quick batch of cupcakes as I felt like not only I did not have enough desserts for the kids and the parent, the current desserts were heavy on the chocolate.  Well time went by and I found time and literally squeezed in  some vanilla cupcakes and used left over frosting from the green cake.  I totally think I am ready for one of those timed cooking shows.

IMG_7649

The gift bags were fun to prepare, but the plan to fill them slightly backfired in that I expected them to be filled as the party was in progress.  The kids did a dinosaur egg hunt and even were able to put in a dinosaur for which they adopted (sadly did not get a picture and it was such a cute steal from Pinterest), but I forgot to have them get candy and there weren’t enough desserts to take home.

IMG_7772

The bags did look cute sitting on the table though.

IMG_7710IMG_7711IMG_7708

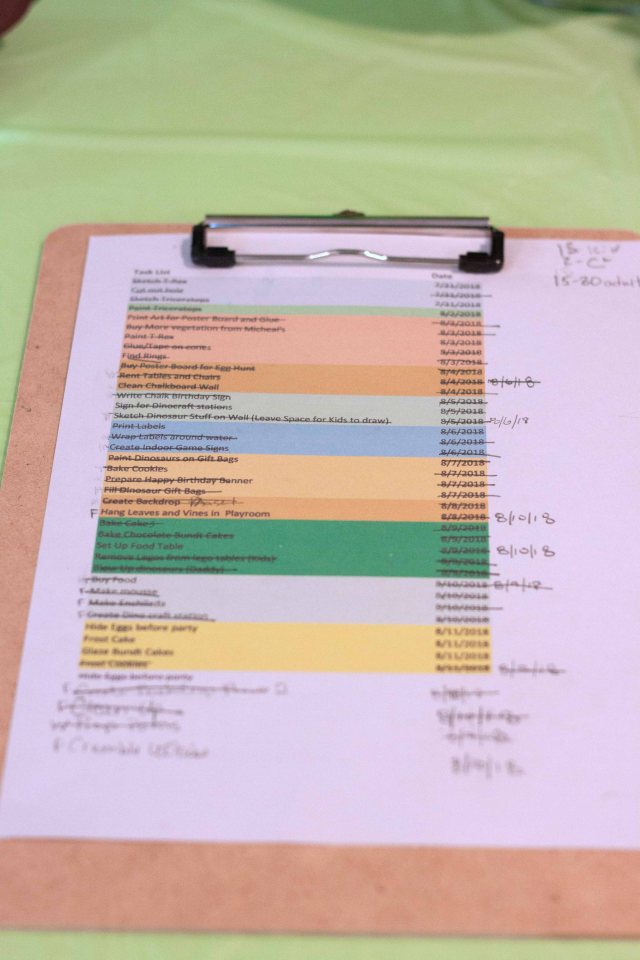
My son and all his friends had a ball and the food and dessert got rave reviews, most importantly, I finished everything and it all due to this special little list.

IMG_7747


A Little Something For Easter

Prompted by a co-worker’s exclamation that she was inviting her brothers and their families over for an Easter dinner, I decided to throw a small Easter gathering for my kids and a couple of their friends.  I mean, I have never done an Easter themed party and when I say Easter themed, I mean the commercialized version of the holiday (I am so going to get it for that) so why not celebrate in true SPD style.

IMG_4795

IMG_4752

IMG_4753

IMG_4743

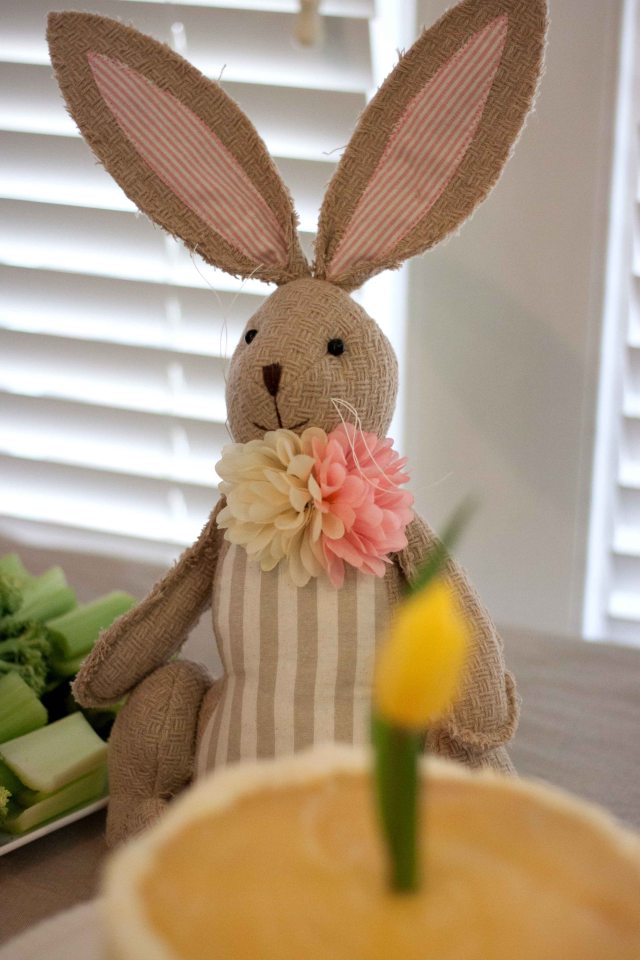
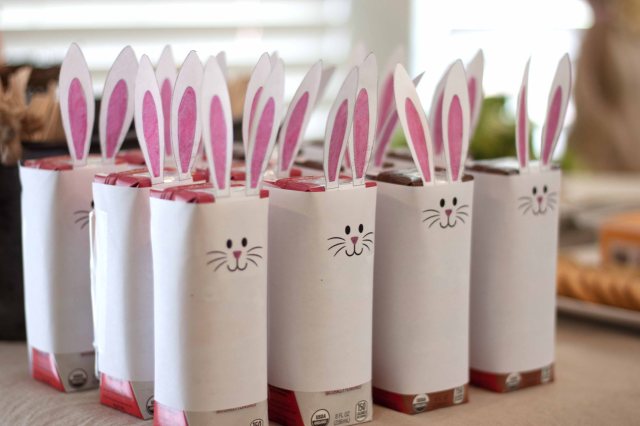
First I must say, I have turned over a new leaf.  Call it age.  Call it finally learning from my experiences, but whatever it is I have finally come to terms that I cannot do it all.  With that said, I pushed it a bit but I really did keep this  one (my kind of) simple.  Party time was strategically set at 2:00 pm to 4:00 pm;  well enough after lunch to start twitching for some food  and early enough to not be craving dinner just yet so I would only need to have snacks purchased from the store.  I know, gasp!  A fruit platter (I recommend homemade as it cuts down the cost by at least a third especially if you have bargain stores like Aldi), a cheese and cracker platter, and some veggies.  The cone bags filled with Trader Joe’s “Cheetos are my favorite snack for the kids since they use a type of turmeric too give that orangish color so their are no artificial flavors.  Now before you start pondering whether or not I have gone off my rocker, I absolutely made sure there was plenty of homemade dessert.  Oh and the milk bunnies idea I found on…you guessed it….Pinterest!

Before I go into the details of the desserts as that is all I really want to talk about, I will say I got a little creative with the activities.  The kids painted eggs with paint (because I was not in the mood to deal with dye) and boy were the kids serious about their masterpieces.  I also hosted an Easter egg hunt which was was outfitted with cute pinwheels I made using gorgeous card stock purchased on sale at Micheal’s.  Side note:  this works best with the very thick stock.  I used the thin ones because they had the most beautiful patterns but the wind proved to be a tough match.

IMG_4787

Now back to dessert, my proudest was the Lemon Cheese Layer Cake which I later renamed 4 Layer Lemon-Orange Citrus cake as there is nothing cheese about this cake.  Even Southern Living, from which the recipe was obtained, mentioned the name was a bit misleading.  The layers are filled with a lemon curd, which, turns out is way easier to make than one would think.  Then the sides are smothered in a buttercream laced with orange zest.  This had to be the most well assembled cake I have ever prepared thanks to some YouTube tips.  I chose to top it off with a beautiful yellow tulip in which  I secretly wrapped the stem in plastic before I inserted it into the cake so the yucky flower germs wouldn’t touch it and also to retain the moisture.  I will definitely make this one again.

IMG_4781

The rice crispie treat nests were so cute.  I opted for the brown buttered version of the recipe w/ a hint of vanilla bean paste to kick it up a notch.  The little chocolate eggs add just the perfect look.

IMG_4789

IMG_4761

The cupcakes were a simple white cake and standard buttercream frosting, but you can’t tell me the sprinkles and cute bunny toppers found in line at Home Goods do not put them over the top.

IMG_4817

IMG_4814

All in All I was so happy that I got my creative juices flowing again and finally got a moment to take pictures to share.  I am not even going to apologize for the fact that this is my first post in like months because it just shows how life can take over.  I am not one of those moms that has it together all of the time.  I have two young boys, a demanding full time job and all the stuff in between so adding in regular blog posts just won’t happen,  But every once in a blue moon I can muster up the strength to share a little gem.

Side Note: my photography skills have diminished and the lighting was not consistent so neither were my photos.  But I hope  you still enjoyed it.

IMG_4797

Pinteresting Baking: 4th Birthday Treat

Yeah….so…..the 35 weeks of baking hit a hard wall.  I cannot even explain it, but I literally could not bring myself to blog.  I was and still am baking and I usually remember to take pictures, but sitting at the computer and editing images and then writing about the experience seemed so daunting and add to the fact that time just would not stop.  But I am not the one to give up.  I am just tweaking or adapting the plan.  I have lost track of the weeks and have had several weeks without baking so I will just bake when I can and post when I remember.  With the holidays coming up, I suspect there shall be a great frequency of posts.

IMG_1491

My son’s 4th birthday was in August and, true to my rule of “only one”, he did not have a party.  We had our dessert ceremony as a family or four plus the in-laws and went on a mini-trip planned with the munchkin in mind (The rule of “Only One” is that only one kid gets a birthday a year and the other gets a trip or a day of their choosing-from meals to some fun location).

IMG_1431

This dessert was so fun to make.  It’s a Neapolitan cupcake!  Basically a chocolate layer and vanilla layer of cake and a strawberry frosting on top.  My layers did not come out as defined as the picture from the original post and when I removed the cupcakes from the oven, you could see the chocolate bubbled through the vanilla.  The bonus, is that the frosting covered it up and it tasted delicious.

I guess I can say this was just a fun dessert with a cherry on top.

IMG_1490


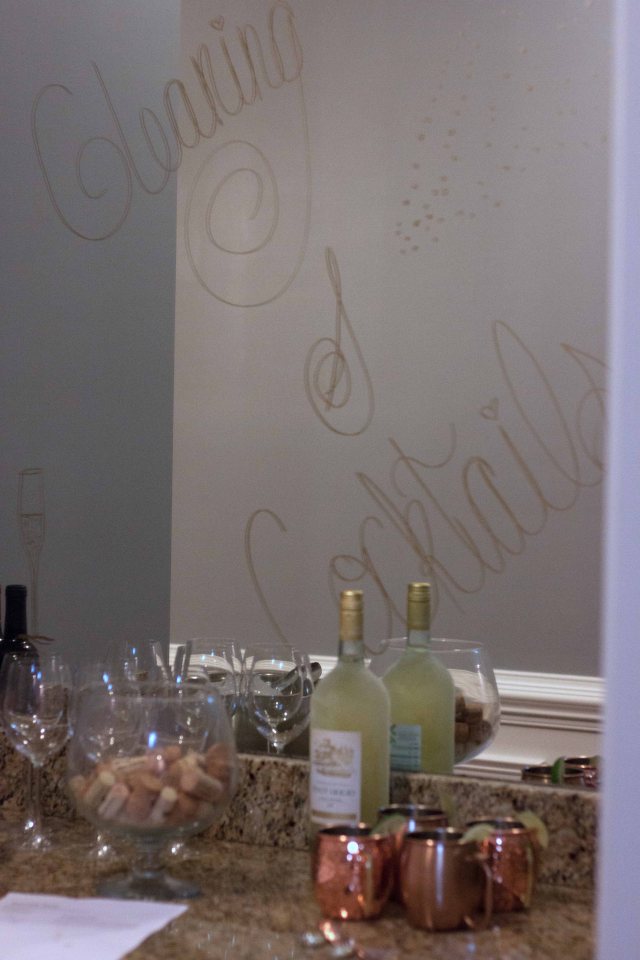
Cleaning & Cocktails


IMG_1729

I know! I know! I have been M.I.A and what happened to my 35 week challenge you ask… life!  Life happened and there was nothing I could do about it but accept that I had, once again, challenged myself to an unattainable level.  I will say, however, with the exception of a couple of weeks, I have been baking up a storm.  The major challenge has been to transfer my pictures to the desktop and edit them and then proceed to write up a reader worty blog post.  I assure you, I will get those delicious, Pinterest board delicacies on my post but for now I will leave you with a quick recap of my latest endeavor.

After begrudgingly attending a friends Norwex party, I found myself walking back to my car with a baggy of freebies in my hand, an order receipt in my pocket, and contemplation in my mind as I had purchased products and volunteered to host a party.  The clever consultant, Jennifer, both lured me with her excellent presentation and played to my hosting obsession.  Fast Forward to a few days after  my friend’s party and I  not only had a theme for my party but an catchy title as thought up by Jennifer The Consultant (Thanks Jen…I didn’t even ask her if I could call her that)….”Cleaning & Cocktails”.  Oh be still my hosting heart.

IMG_1719

Unfortunately in the middle of planning, I had a life situation happen that distracted me and took me out of town away from my children for the first time.  I actually ended up returning only four days from hosting day.  So you know what that meant, last minute shopping and running behind.

IMG_1734

On the day of the party, I was really limited in my time.  I was fortunate enough to have baked my cupcakes two days in advance and tossed them in the freezer (I can never thank the baker who posted this tip in a thread).  Anyway, I will tell you one thing that has come out of all of this baking and cooking, I am getting pretty fast.  I think I am ready for one of those speed baking cooking shows.  In the morning, with my kids running circles around me, I was able to prepare a mint chocolate mousse (post to follow….at some point), mint flavored whipped cream (homemade), tart crust and shrimp bruschetta topping.

IMG_1725

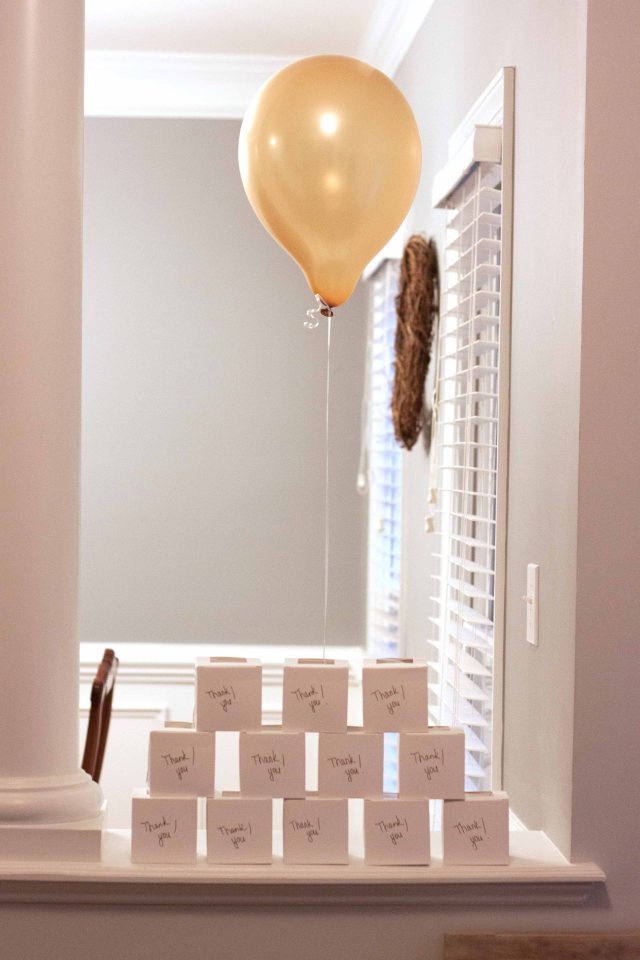
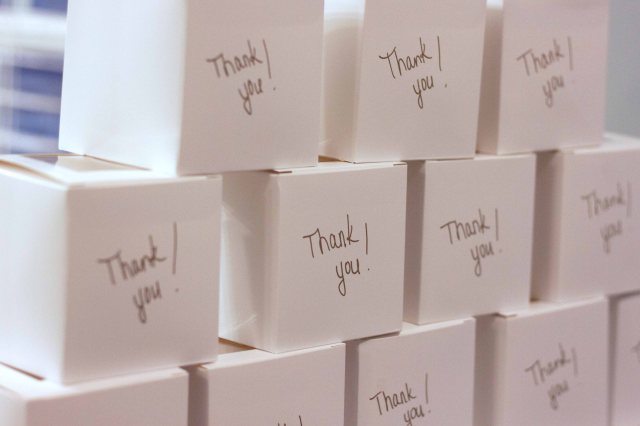
Since I had little decorating time, I chose to buy four gold balloons and instead of wrapping the gift boxes containing the most amazing coconut cupcakes I have ever tasted (oh yes I am boasting about something I made and you will be as well should you try it out) with gold ribbon I had purchased, I used the gold marker with which I decorated the mirror in the drink bar area to write a simple “Thank you!” and it looked pretty cute.

IMG_1727

I was so behind, I was plating up dishes when guests arrived so the pictures are few and poorer quality than my usual and I even put Jennifer The Consultant to work on prepping the caramelized onion tartlets.  She did an amazing job by the way!

IMG_1737

IMG_1736

In the end, the turn out was enough to make me smile and the food had everyone including myself eye rolling.  You know what I mean…when the only response you can muster when savoring every bite of a delicious piece of food is just a slow roll of the eye.

IMG_1723

Top all of that off with yummy wine and Moscow mules and I was a happy girl.  I had almost forgotten someone was selling something in the middle of all of this.

IMG_1733

A special thank you to all my guests and a special special thank you for your purchases.  I made it to some freebies!  Who could ask for anything more!!!

IMG_1728

35 Weeks of “Pinteresting” Baking: Week 9 – A Sophisticated Strawberry Cake for A Sophisticated 7 Year old

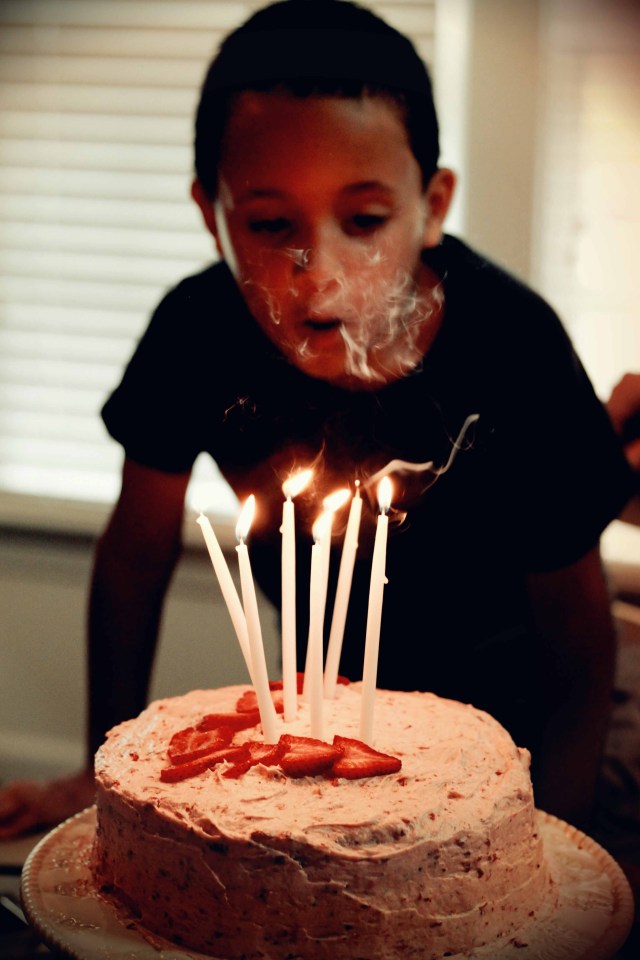
I did not take many pics of this one so I will also attempt to spare you the long, drawn out, wordy blog, but don’t get too comfortable with this format.  For my 9th Pinteresting goodie, I chose to make a cake for my son’s actual birthday.  Again, I will be posting his party sometime this week.  He loves strawberry desserts so what better treat than to create a delicious Strawberry Cake with an even more irresistible Brown Buttered, Roasted Strawberry Buttercream Frosting.  Oh yes, you heard me right, roasted strawberry and, at this point, you are likely not surprised that the butter has been “browned”.

IMG_0476

For this cake, I actually combined two different recipes with the frosting being the sole inspiration for the cake.  My son liking strawberry desserts was a cover-up I must confess.  The roasting of the strawberries was exactly what you imagine….heavenly.  First you toss the fresh strawberries in brown sugar and I don’t know about you, but strawberries are probably the most beautiful fruit with that rich, red color and sugar always brings it out even more.

IMG_0454

Finally when they are pulled out of the oven, you get this rich and syrupy version of the strawberry that produces an aroma sweet enough to give you a cavity without a single bite.

IMG_0460

The cake recipe itself, was quite simple and definitely made sure it stood out alongside the superstar frosting.  The cake also contains fresh strawberries in the form of a puree and produced a really moist texture.  I did slightly overmix the batter so it did not turn out making the final product slightly more dense than it should have been.

This cake was so delicious and I love that, as emphasized in the recipe prep, the strawberry pieces were visible through the frosting.  I am telling you this had to be the best tasting cake I have made so far.  I ate more than I care to admit, but most importantly my son was so excited despite likely not appreciating the quality and sophistication of the frosting, but the smile on his face when he saw his cake was more than any praise I could ever get from even the most experienced of bakers.

IMG_0495

35 Weeks of “Pinteresting” Baking: Week 8 – The Unbreakable Cinnamon Roll

Once again, I am late with my post, but I have decided as long as I bake in real time I have fulfilled my challenge.  Being a working, who relentlessly takes on more than I can handle pretty much sets me up to constantly have something fall by the wayside.  I must say, though, I have been baking away come hell or high water or just plain crying…I have been baking!

This particular week, I sneaked over to my “Breakfast Breakfast Brunch” board to find a delicious addition to my son’s birthday breakfast which I will post later.  I landed on this handy dandy recipe and let me tell you I did not regret it.  The funny thing about making cinnamon rolls is it is very intimidating.  Then, mid-way through preparation, you realize it is not that bad.  I think it is the yeast that gets you.  I mean some weird creature that you have to feed or keep a certain temperature or you baked good will not turn out right seems pretty creepy.

Well this time was no exception.  I was pretty much worn out from party preparations when it was time to prep.  I  almost almost decided not to bake so you can imagine that when I chose to push forward, I was dragging.

IMG_8939

IMG_8946

In preparing the dough, as the recipe notes, it was really sticky and and took longer to rise than I am used to.  It also requires you to come back and forth to your dough mound and flip it and flop it in a 2 hour time period.  Fortunately it is a two day process so Thursday evening while on my last leg, I was pretty happy when I got to the point of putting it in the fridge for the overnight rise.

IMG_8949

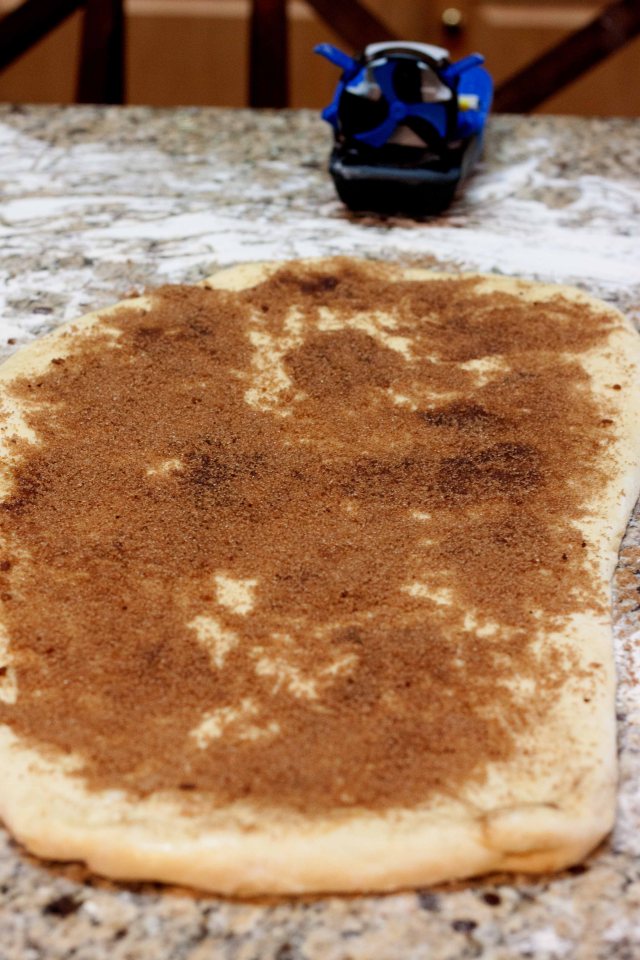
Day 2, I was more energetic, but who would I be if I was having to rush due to the fact that people would be over shortly to taste whatever it is that was going to come out of the oven.  First thing is I must watch a master roll out the dough.  I never obtain this mythical, measured rectangle that recipes so often tell me to make in order to get a particular size and amount of cinnamon rolls and this time was no exception.  Actually it was an exception, an exceptionally far deviation from the measurements as I was really really rushing at this point.  It was so funny when I rolled my dough and found more of a cone rather than a perfectly symmetrical cylinder.  Needless to say, I got several rolls and tossed them in the oven.

IMG_8952

I almost overcooked them since I was chasing 7  year old boys around and also preparing many other dishes, but they made it out with what I would just call an elevated browning.

IMG_8954

The frosting took seconds to make and I just slapped it on and threw the dish on the table.  Once things settled down and I had finished my hosting duties, I snagged a bite and holy bleep, they were amazing.  You have absolutely got to try this recipe.  Even with my half-step, one eye open, delirious baking they turned out so good.  The rolls were moist and the cream cheese topping melted in my mouth.  I think the main difference with this roll that contributed to its amazing flavor was the honey.  Most cinnamon roll recipes do not have this and I often find them tasting quite yeasty.  Now that may be my fault and my strange husband says he likes that taste, but I am not a fan.  If you are looking for a recipe where you can go wrong, look no further, I have found it for you.  Enjoy!

IMG_8989

35 Weeks of “Pinteresting” Baking: Week 7 – Franken Pie

For shame!  I am so behind on my posting that it should be a crime.  In all fairness, I baked two last week and then just could not post.  Why do I put so many challenges on myself, I could not tell you.

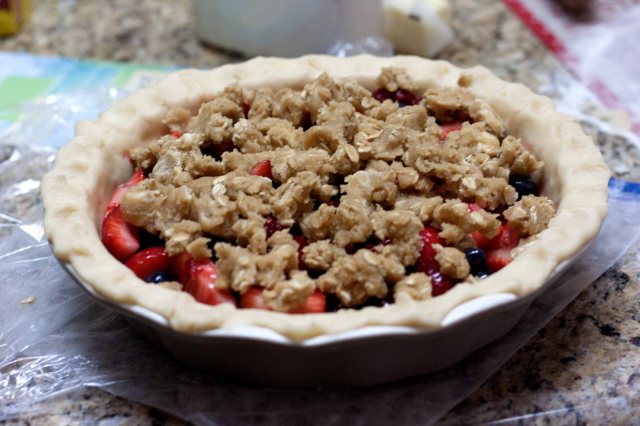
This week I attempted to make a dessert for Father’s day.  I planned on making apple pie since that is the favorite of my husband and my father in-law (if I add the vanilla ice cream.  On baking day, I ended up not having any apples so I opted for a pie with whatever a had remaining in the house.  In this case it turned out to be random berries, raspberry, strawberry, and blueberry to be exact.  I had a recipe for mixed berry hand pies so naturally I decided to use that recipe, but without the hand part.  I wanted it to be a full on pie because that just looks fancier.  Also I call it Franken pie because, for some reason, it took several links to get me to the actual recipe from the link I have on my Pinterest board and I am pretty sure in the end I just meshed together a few recipes that I viewed while trying to confirm my actual Pinteresting recipe was legit.  I also used the streusel from this recipe since I opted against a double crusted pie.

IMG_8753

IMG_8755

IMG_8756


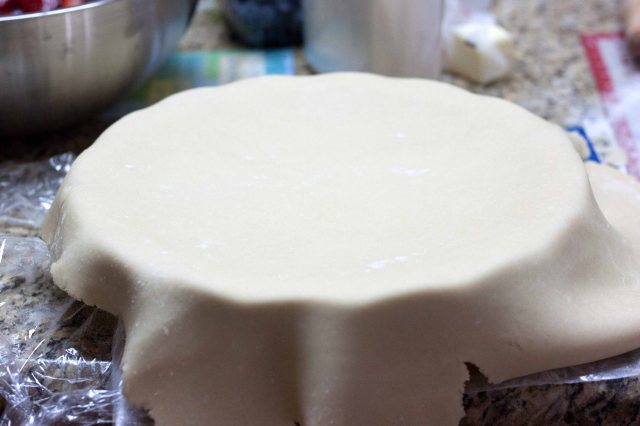
I was unstoppable.  I made my fancy crust and utilized the techniques I learned (e.g. use the rolling pin to gather the dough and place over the pie plate).  I rinsed the fruit which, in itself, looked so gorgeous.

IMG_8750

IMG_8760

IMG_8763

IMG_8766

I was on a roll!  I mean, I made two desserts in one day and had this gorgeous pie.  Oh yes, I was full of myself…..for a moment.    I even tried to use the stressel recipe instad of just adding a top crust.

While driving on the back roads on the way to Oma and Opa’s house, I noticed some liquid forming on the surface of the pie.  “That’s weird”, I thought to myself and like a bolt of lightning, it hit me…Holy sh*@, I forgot the flour.  I totally forgot to add flour to the filling.  I cursed myself all the way to the in-laws.  All that freakin’ work.  All of that self-gratification gone!  It was so liquid like, we totally ended up depending on it being an ice cream topping.

IMG_8774

There is a light at the end of the tunnel.  The flavor of the crust (to which I added an extra tablespoon of sugar) was superb and the berries tasted like heaven.  I want to make this one again with the, you know, correct ingredients.  It is definitely worth a try!

35 Weeks of “Pinteresting” Baking: Week 6 – The Little Oatmeal Cookie Sandwiches That Could

I mentally prepared myself to start this blog post off with yet another baking fail.  When I took the cookies out of the oven, they were super flat and appeared discolored.  I was even embarrassed as I knew I had to post and confess my defeat.  Not to mention the fact that I am a week overdue.  Scratch that, it is now two weeks overdue.  This challenge I have given myself has definitely proven to be a….well, a challenge, but I am not giving up!

IMG_8715

I chose this dessert because I kept seeing the beautiful image staring at me while perusing my board.  It was kind of nostalgic as it brought up memories of the white rectangular box that housed my favorite individually packed Oatmeal cookies sandwiches.  I am pretty sure we had an everlasting supply in my house.  I even had them on hand in my dorm room when I went to college.  Fast forward to several years later and a maturing palate and I now see a poison sign whenever I look at that box so you can imagine it brought me excitement to be able to get a childhood treat made with ingredients I can pronounce.

IMG_8701

This time I did cheat a bit and recruit my mini bakers to balance wild boys and attempting to pump out yet another baked treat.  They are becoming pros now as the oldest has been helping me bake for about 4 years and my youngest for almost 2.  We started off with the cookie portion which was quite easy.  I cannot tell you why they came out so flat and discolored, but I think I let the butter sit out too long and that may explain the flatness.  I opened a new box of baking soda so it wasn’t that.  Regardless, this was definitely a “don’t judge a book by its cover moment.

I “tested” one of the cookies and had a moment.  The cookie was so soft and flavorful.  It really felt like it was melting in my mouth.  I would definitely attribute the texture to the molasses.  You don’t really taste it but it makes sure its presence is known by creating a cookie that seems to almost massage your teeth as you chew.

IMG_8722

I was pretty exhausted when it came to creating the filling so I just cut a hole in a ziploc bag and went to town.  I also need to note that I did not use bourbon or brown the butter.  I know I know, don’t fall out.  I missed that it was browned butter as that is usually  highlighted in the recipe description and I refuse to purchase alcohol at the ABC stores.  I just added 1 tablespoon of vanilla and used plain butter.

IMG_8727

IMG_8735

They were so good, there was almost no final product to capture.  I had to leave the last few at my in-laws so I would devour every single one myself.  This is definitely going down in the books as a go to treat.

35 Weeks of “Pinteresting” Baking: Week 5 – Brown Butter White Chocolate Chip Cookies w/ Macadamia Nuts

Say that 5 times in a row without getting tongue time.  Last week I was so proud of myself as I did not wait until the end of the week to bake.  I had my cookies ready for co-workers by Thursday.  Of course, I managed to delay posting until Week 6 so you will hear from me twice this week.

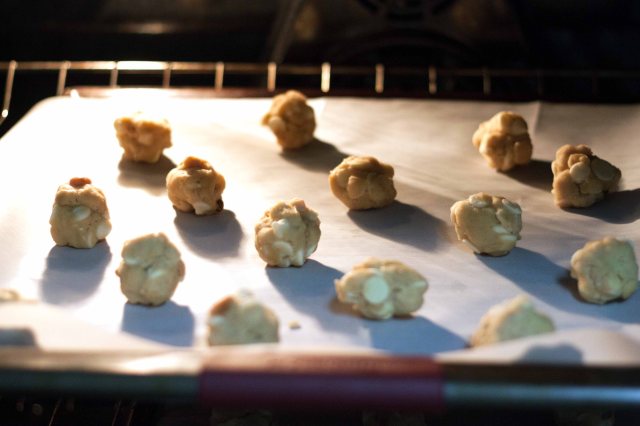
For week 5 I used Pinterest as an inspiration to create a Franksteinesque recipe for my favorite cookie.  I honestly cannot tell you what I like more, the smell of browning butter or that smokey taste it lends to baked goods, but I am definitely a fan.  The original recipe on my Pinterest is for Brown Butter Cinnamon Cookies with White Chocolate Chips, but I wanted to add macadamia nuts and omit cinnamon chips.  Oh and I did not have sour cream or greek yogurt so I was pretty much destined to go off script.  I ended up combining the aforementioned recipe with a general White Chocolate Chip w/ Macadamia nut cookie and I ended up with a recipe that looks something like this:

2 1/4 C AP Flour

3/4 C Light Brown Sugar

1/2 C Granulated Sugar

1 Large egg + 1 egg yolk

1 tsp Baking Soda

1 tsp Vanilla Extract

1/8 tst Almond Extract

1 tsp Baking Soda

1 C Butter

1 C chopped macadamia nuts roasted

1 pkg Ghiardelli White Chocolate Chips


First I browned the butter.  I removed it from the heat, let it cool and then placed in the freezer for quick chilling.  Once the butter was ready, I creamed the butter and the sugar.  Ohhh it smelled so good!  While that mixed, I combined the dry ingredients in a separate bowl.  I added the dry ingredients to the creamed mixture with the blender on low.  To add the nuts and chips, I used a wooden spoon.

IMG_8247

For the chips, I recommend Ghiardelli.  They are amazing and yes, yes there is a noticeable difference.  If those are not on sale, Nestle is the way to go.  I refuse to go generic on the chips, but funny thing is I will go generic on everything else.

IMG_8257

When I decided to prepare this recipe late in the evening, I threw my hands up when I found that the dough needs to chill for a couple of hours.    It was around 10:00 pm and I had to go to work the next morning so I opted for overnight.

When I took the mix out of the fridge in the morning, I was concerned the cookies would be dry and not soft because that dough was so challenging to handle.  I am sure I was supposed to bring it near room temperature first, but time was limited.

IMG_8241


IMG_8259

The cookies turned out great.  My idea to roast the nuts didn’t quite back fire, but I will say, the nuts stole the show so be sure your audience likes the taste of nuts before you give this a try.

IMG_8265